I don’t believe in making pancakes with a mix, and it seems like a good time to finally document my simple procedure. If you want to read background about this, that’ll be at the end, since I don’t have any ads to sell.
Instructions
Combine the dry ingredients in a large bowl and mix them together. Separate the egg yolks from the whites. Add the buttermilk, oil, and egg yolks to the dry ingredients. Stir the mixture together until just barely combined, some lumps of dry ingredients may remain.

Mix the egg whites until they reach stiff peaks, which means that when you lift the egg beater out of the bowl, the tips of the egg whites don’t fall over.
Gently fold the egg whites into the mixture, you are now ready to cook the batter!
Oil the cooking surface and heat it to about 300°f or 150°c as measured by an infrared thermometer. You could also just wait till it seems pretty hot. Put a dollop of batter for each pancake, ¼ cup for a medium sized pancake.


Cook until you begin to be able to see that the side of the pancake looks dry and some bubbles begin to come to the surface. At this point, flip the pancake, and cook for a similar amount of time on the second side.
Serves 4.
I’ve always really liked pancakes, I remember writing an essay on proper pancake cooking in high school. For years it was probably the most complex recipe that I could make based on an ingredient list and no instructions. In fact, when looking to my notes to get exact measurements, I noticed that where instructions would go, it simply says “you already know how to make this, so I’m not including any instructions”.
There are lots of options for things to mix in for pancakes, but I think the key note is that if it’s something cold, you should heat it up on the griddle and then pour the batter over it, rather than mixing it directly in. Hot dog slices are the most obvious example of this, I recommend giving them 30 seconds on each side at least before pouring the batter over them. Mini chocolate chips or grated cheese can easily be mixed into the batter directly.
Technique-wise, the reason for all this ‘gentle’ mixing and folding is because you don’t want the gluten to develop, which happens the more you work the flour after adding the wet ingredients. When cooking the pancakes, it’s generally a good idea to re-oil the pan from time to time if the pancakes are sticking.
I mentioned in equipment that it’s ideal to use an electric skillet close to the table, and there are actually two reasons for this. While it is important to have them served as quickly as possible, it’s also nice for the person cooking the pancakes to be able to sit at the table with everyone else, because there’s really no way to have all the pancakes ready at once.
... ➦These Photos are from my trip to Vienna way back in 2016.
These two buildings are the museums of history (above) and nature (below). I caught them at a particularly picturesque moment.
Instructions
- Take 2 sticks of butter out of the fridge
- Chop up 1 cup of walnuts
- In a bowl outside of the mixer, mix:
- 2 cups flour
- 1 tsp baking soda
- 1 tsp salt
- In a stand mixer mix:
- 2 sticks of butter
- ¾ cup white sugar
- ¾ cup brown sugar
- 1 tsp vanilla extract
- Add 2 eggs, 1 at a time to stand mixer
- Add in flour mixture
- Add morsels:
- 1 cup chopped walnuts
- 2 cups chocolate chips
- Optional: Refrigerate for 20 minutes
- Pre-heat oven on bake to 375°F
- For tablespoon sized cookies, bake 9 to 11 minutes
I believe I’m obligated to include a story with this:
This recipe was recommended to us by a friend, but it’s essentially the Nestle Toll House recipe with some very small modifications and notes that we’ve come up with after making it numerous times. We’ve also found it to be way easier use a miniature ice cream scoop to make the balls of cookie dough.
These cookies come out a little crunchier than the standard, if you want a slightly more cakey version, add an extra ¼ cup flour.
... ➦These photos of mine were featured in the 2019 set of Chromecast photos, you may have seen them on your television as a sort of default screensaver.
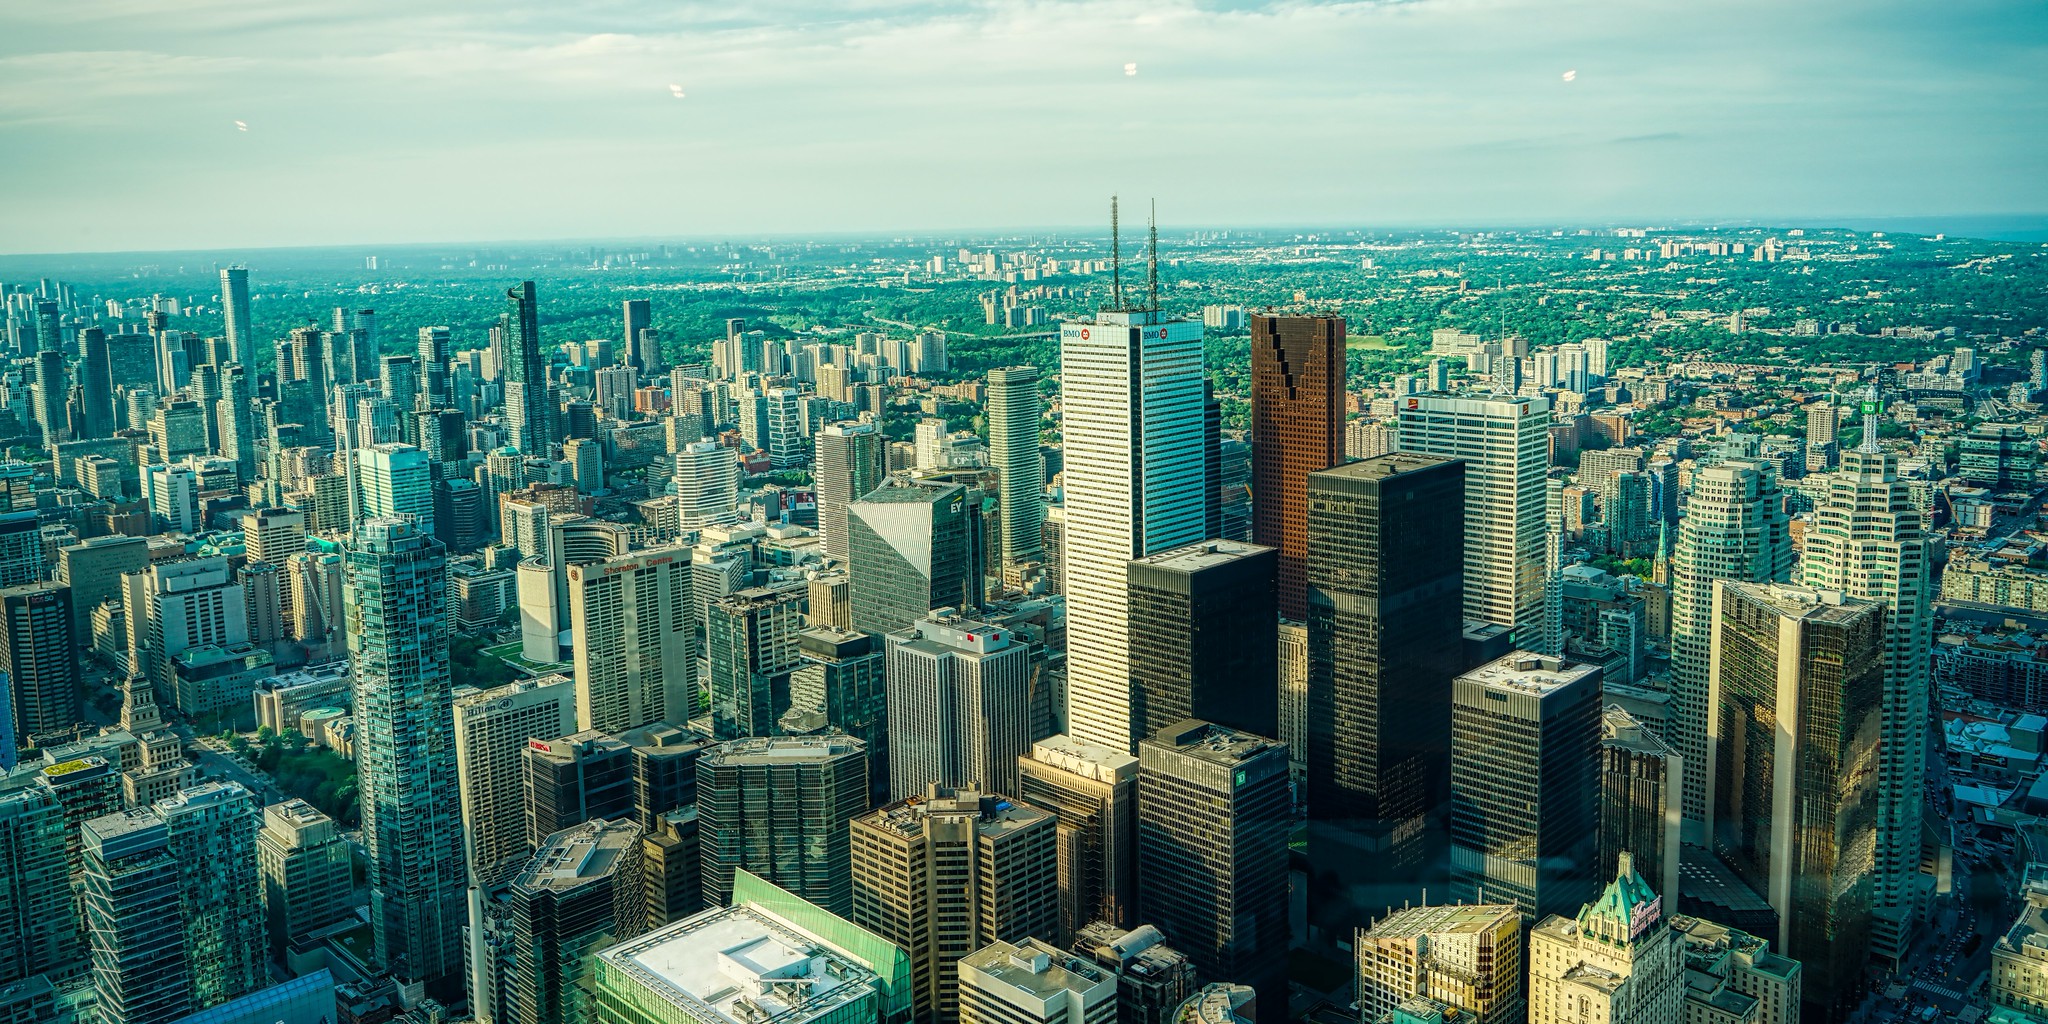
This is CN Tower, it’s in Toronto, and is easily the most iconic feature of that city’s skyline.
This is a sort of mechanical calulator at the Museum of Art in Vienna.
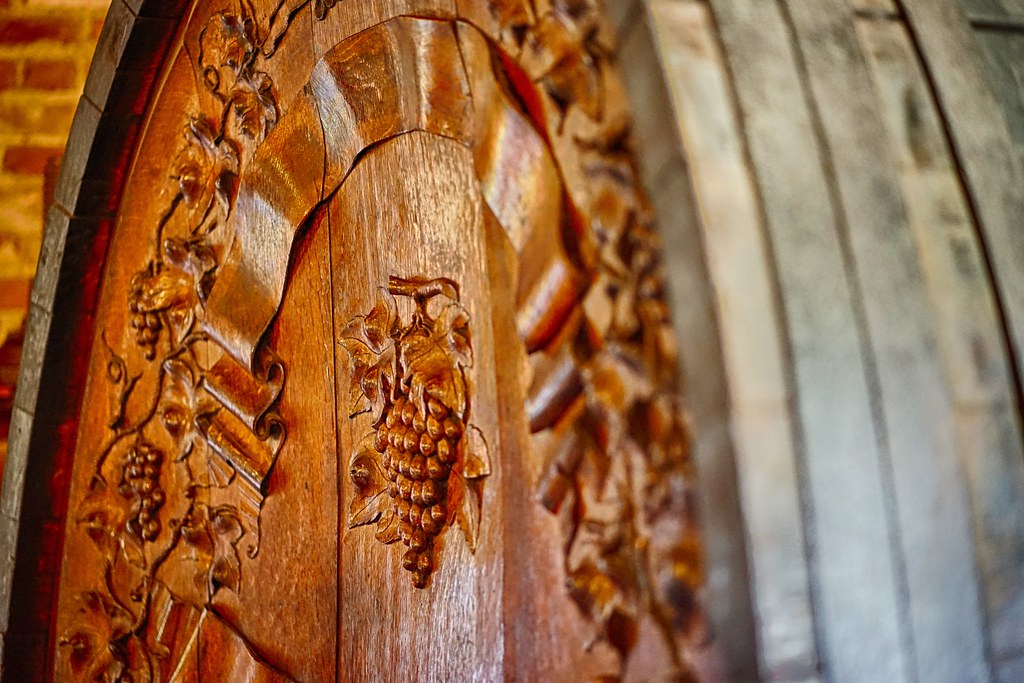
The Wine Barrel below is from Picchetti Winery in Northern California.
Photos I took of stanford in 2016 to test out different options for HDR.
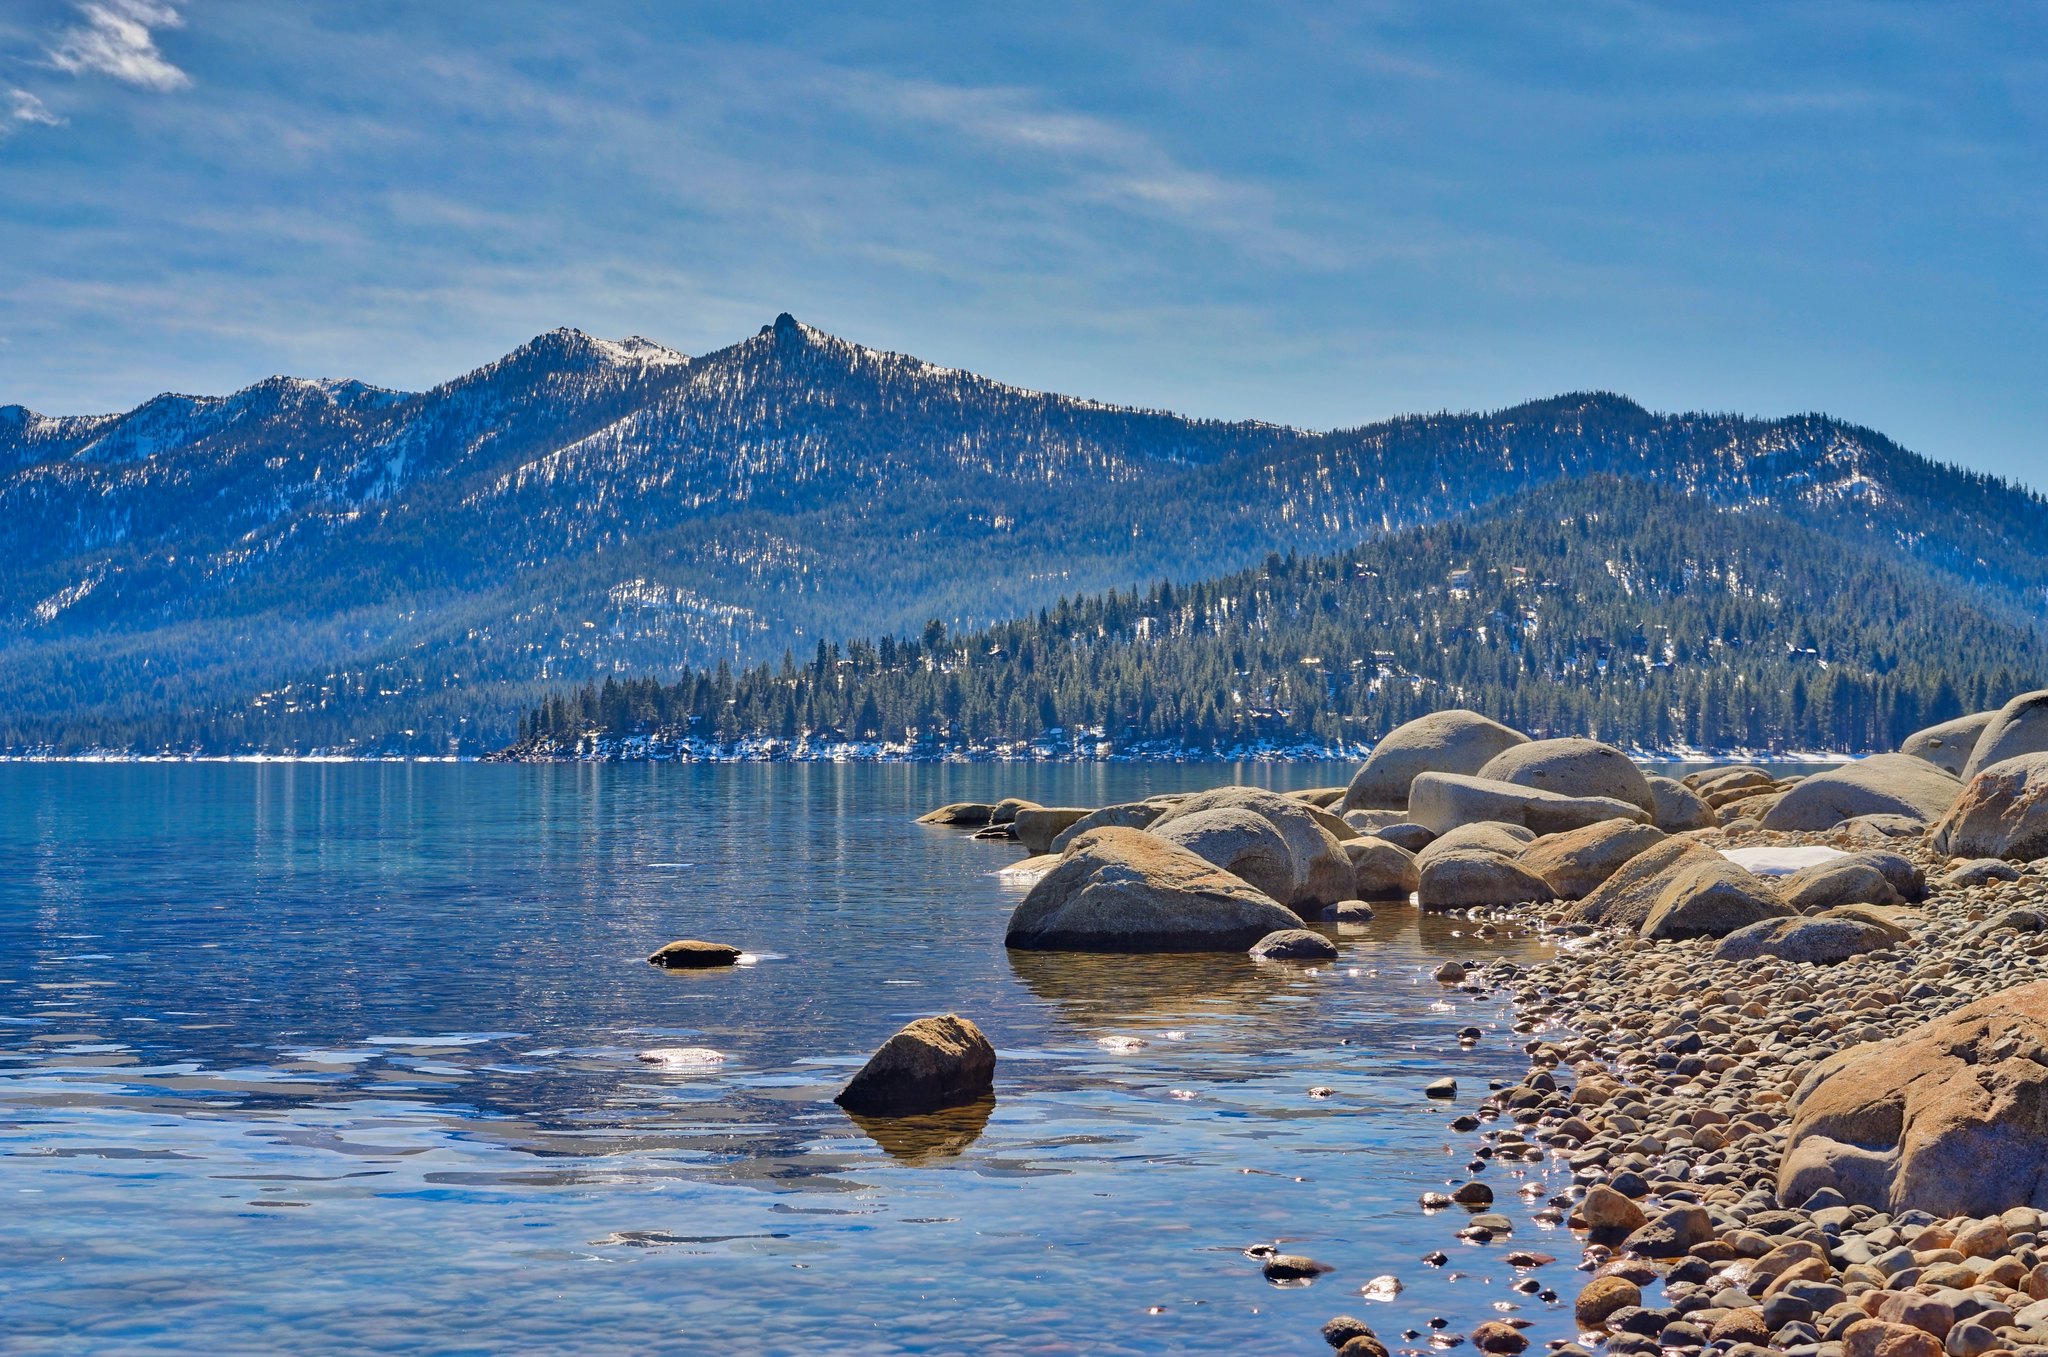
These photos were selected to decorate a cabin in Lake Tahoe, one is even of Lake Tahoe.


